Manipulations for Swarm Control
Avert the queen’s departure


Dynamics Ground rules
Basic Assessment: Give an elementary account of one method of swarm control
Unfortunately I’ve lost most of the content of this page. I’ll re-write it when I’ve regained the will to live.
Swarming is the bees’ mode of reproduction. Half the bees and the queen leave to form a new colony. From a beekeeper’s perspective, losing bees in a swarm is tantamount to criminals fleeing the police. If the criminal’s car is far ahead, they may get away. To prevent this, the police must make a roadblock or roll a strip of spikes across the road that puncture the car’s tyres. The roadblock and spikes are like the manipulations beekeepers perform to prevent their bees from flying away.
Bees naturally reproduce by swarming, but it is the bête noire of beekeeping. Few bees mean little honey. This page describes some ways to prevent swarming when queen cells (QC) are present. Splits and Demaree are good methods. However, as a first step, many people learn the Pagden Artificial Swarm because that is what they’re taught on their association beginners practical course. That’s okay, start with that. Before that, I explain the principles behind swarming and its control. Note that swarm prevention is different; it describes methods to use before QC pop up.
Colony size — honey volume — Swarming
A colony has to be a specific size before it can make honey, which is also true of swarming, although swarming can arise because the bees are living in a small cavity (less than 40 litres). A colony needs a surplus of bees beyond those required to care for the brood, just as a family can only go on a foreign holiday when it earns considerably more than its childcare costs. In the graph below, I’ve depicted this transition with a red line. The accumulative area under each curve and above the red line in the main flow (when there are plenty of flowers) corresponds to how much honey a colony produces. There are five scenarios:
Colony population time series graph
Orange — where both portions of a Split are united for the main flow.
Green — Split.
Purple Swarm — If a large colony swarms in early April, there is hope of a small harvest.
Pale green — a portion of a split that has insufficient resources to recover or is ill.
Grey/black — no swarming or manipulation.

The graph illustrates what happens when the colony population (shown in thousands) dive bombs due to swarming, colony manipulation or poisoning. It takes a minimum of 21 + 7 days for an egg to be capable of becoming a forager; a month before mid-June. In the build-up, the colony re-invests its surplus into creating more bees, and by mid-June, it may have no stores and many hungry mouths to feed. If the main flow is late, they starve. A colony that swarms in July should still have enough bees to produce a surplus. Sometimes in England, with favourable weather in the spring, they produce a good spring honey crop too.
Colony dynamics and swarm control / swarm management

Please refer to Figure 1.
The red boxes indicate factors that can be adjusted to scupper the colony’s attempt to swarm, if only by a few days.
Sufficient brood
Sufficient foragers
Young bees
At least one queen cell
Presence of a queen.
Keep it simple - manipulations without finding the queen
If you prefer methods that keeps the colony together so that you still have a honey harvest do one of these:
Demanding
Simpler
Ground rules
1. Never kill a spare queen unless she heads an aggressive colony or is a drone layer. Put her in a small nuc with bees, stores and emerging brood (the inner aspect of an arc of brood or where bees are visibly emerging). She may be helpful later.
2. As far as possible, always leave the frames in the order you found them. Failing this, put brood centrally boarded by frames of pollen, comb, nectar, and stores. A box must contain a full complement of frames.
3. The parts of a split must be at least one meter apart, with entrances facing opposite directions.
4. Suit the manipulation to the situation. Early in the season, an artificial swarm or split are strong enough to block the swarming urge, but at the cost of setting the colony back a great deal. In July, such a robust manipulation would weaken the colony before winter. A Demaree is more appropriate.
6. If a portion lacks foragers, give it a frame of honey. After 24–48 hours, start feeding with syrup.
7. Put nucs in the shade.
8. After 48 hours, check that a nuc/hive that has moved away has enough bees.
9. If there are loads of QC at the outset, and you want to use some to perform splits, use a fat open or closed queen cell (depending on whom you talk to). The rationale for using an open cell is to ensure that you don’t choose a QC that is empty or dead, and it enables one to predict when the queen will emerge. If you use open cells, consider whether there are enough bees and pollen to provide the QC with sufficient nutrition. It may be wise to reduce the number of cells.
10. Manipulations require attention to detail. If a manipulation requires reducing QC to one, and you don’t, all your hard work will be undone.
12. I don't mean to insult your intelligence; plan what equipment you’ll need before you start. Usually, in addition to a nuc or new hive, it is helpful to have one or two empty boxes (to sort frames) and a couple of spare hive stands (to make lifting easier).
13. If a queen is removed from a hive, and you wish to re-introduce her a few days later, The emergency QC must be removed first. A bee’s short-term memory is less than 12 hours, so this cut-off should be safe.
14. Young queens, move fast and are called “runners”. You will be lucky to see one.`
15. Returning a queen to a hive — only release her in to the dark space between two frames. Do otherwise and she may fly.
16. Bees are slow drawing wax on plastic frames in the spring, without a nectar flow. This can cause a block to expansion. Use drawn comb or wax foundation early in the year.
Having a marked queen is helpful when performing manipulations
Marking the queen
A young Q will run around, making it almost impossible to find her. But keep your marking pen to hand.
Marking involves dabbing a spot of paint on her thorax. I cover this in more detail elsewhere.


The syringe device is for catching the queen and marking her. The device with the portcullis is handy for transferring the queen (if you can’t handle her) into a travel/introduction cage.
Timing is critical when it comes to manipulations.
Thorne sells this little device. Turn the dial, and rather like an old-fashioned set-square for maths, you can read off what happens when.
Combine this with looking at a brood table.

The Artificial swarm (AS) The Pagden method
This is the most popular method around my way. It prevents swarming 100% IF DONE CORRECTLY.
The Q stays home, with no QC in a box of combs along with the supers. She must have some comb.
The brood is moved at least one metre away, with the entrance facing away from the home hive. Consequently, the foragers fly home.
The portion moved away must make a Q, so destroy all but one QC. But you may want to leave two:
When one QC is left, there is a risk that it dies. This is unlikely. If two remain, they may swarm on the first Q. However, if two QC are close together on a comb, and they look the same age, leaving two is less risky.
Received wisdom is that you leave a fat larva rather than a closed QC. The reasoning is misty. It may:
Reduce the chance that they will swarm on the first Q that emerges.
Increase the chance that the Q is from day four brood.
Establish that the closed QC will be alive when the cell is sealed, but bees won’t seal a dud QC.
When I did AS, I selected a nicely patterned large, closed QC, and got away with it.

The part that is moved away has to make a new Q but has plenty of young bees.
You may hear of a modified artificial swarm called a Heddon. It is unnecessary but works like this: One week after the first manipulation, the “mobile home” portion is moved 180 degrees to the other side of the home position (where the swarm resides). This means more flyers boost the swarmed portion.
Demaree

This method works by separating the Q from the brood. It is simple and effective At the beginning, the Q on her frame, which contains no QC, goes at the bottom of a stack. The brood is placed at the top, separated from the bottom by at least two supers. Another super brood box can be placed above the top box. The consequence of this manipulation is that initially, the bottom box has no brood, few house bees, few foragers and no congestion.
A Demaree is good for:
prevention — colonies are less likely to swarm after a single Demaree.
control
generating QC
making up nucs
strong colonies
two queen colonies
Demaree can be performed in three situations:
When there are swarm cells
When the colony is intending to swarm but shows no signs
For prevention, using a manipulation board instead of the top QE.
In the first two, after 6–7 days, it is critical to destroy the QC to thwart them swarming. Despite some QC being sealed after 5 days, waiting 6–7 days works okay. For prevention, culling the QC is unnecessary, and a manipulation board replaces the top QE.
If you are short of drawn super frames, that’s okay; use foundation. If there are more brood frames than will fit in one box, you have three options:
Up to 4 brood frames can be put in the upper super under the top brood box, but it is vital to remember this at the seven-day check.
Put up to 4 frames in the bottom box. This will reduce the power of the manipulation, but may prevent supersedure after the second cycle. Some beekeepers put two frames of brood in the bottom box routinely.
Use two brood boxes above the top QE. This is a great idea to generate quality queen cells as the extra space can be packed out with stores, and drawn super frames should reduce the tendency for the top brood box to fill with stores.
Leave the whole caboodle for 21 to 25 days, depending on the presence of drone brood. If the manipulation is performed early in the build up stage, unwelcome stores in the top box aren’t such a problem.
Once set up, lift the roof occasionally to release drones.
Problems with the Demaree
Unless you provide an entrance, drones get trapped up top. If they can’t wait to be released, they prefer to kill themselves by getting their heads stuck in the QE, If they don’t fancy doing that, they die anyway,
You must ensure you don’t miss seeing some open brood or eggs in the supers.
The colony growth plateaus if it is done too early, with insufficient brood, in a cold hive.
It creates a humongous colony that is difficult to manage.
It is prudent, but not necessary, to find the queen.
It results in a high stack of boxes.
If, at the start, they are on the cusp of swarming, you won’t know; if you suspect this you’ll need to kill all the QC in the top box. That’s a standard Demaree.
If the bottom box does not have much drawn comb, the queen will not lay with a bang.
It is not a swarming clamp. I imagine bees could swarm near the end of the manipulation.
Theoretically, the bottom box may become congested. An exceptional queen heading a strong colony will lay plenty of eggs in 4–5 weeks.
Increased brood can result in dangerous varroa levels. Consider doing a spring treatment.
When using a manipulation board, they may not produce QC in the top box.
A queen reared in April may fail to mate adequately.
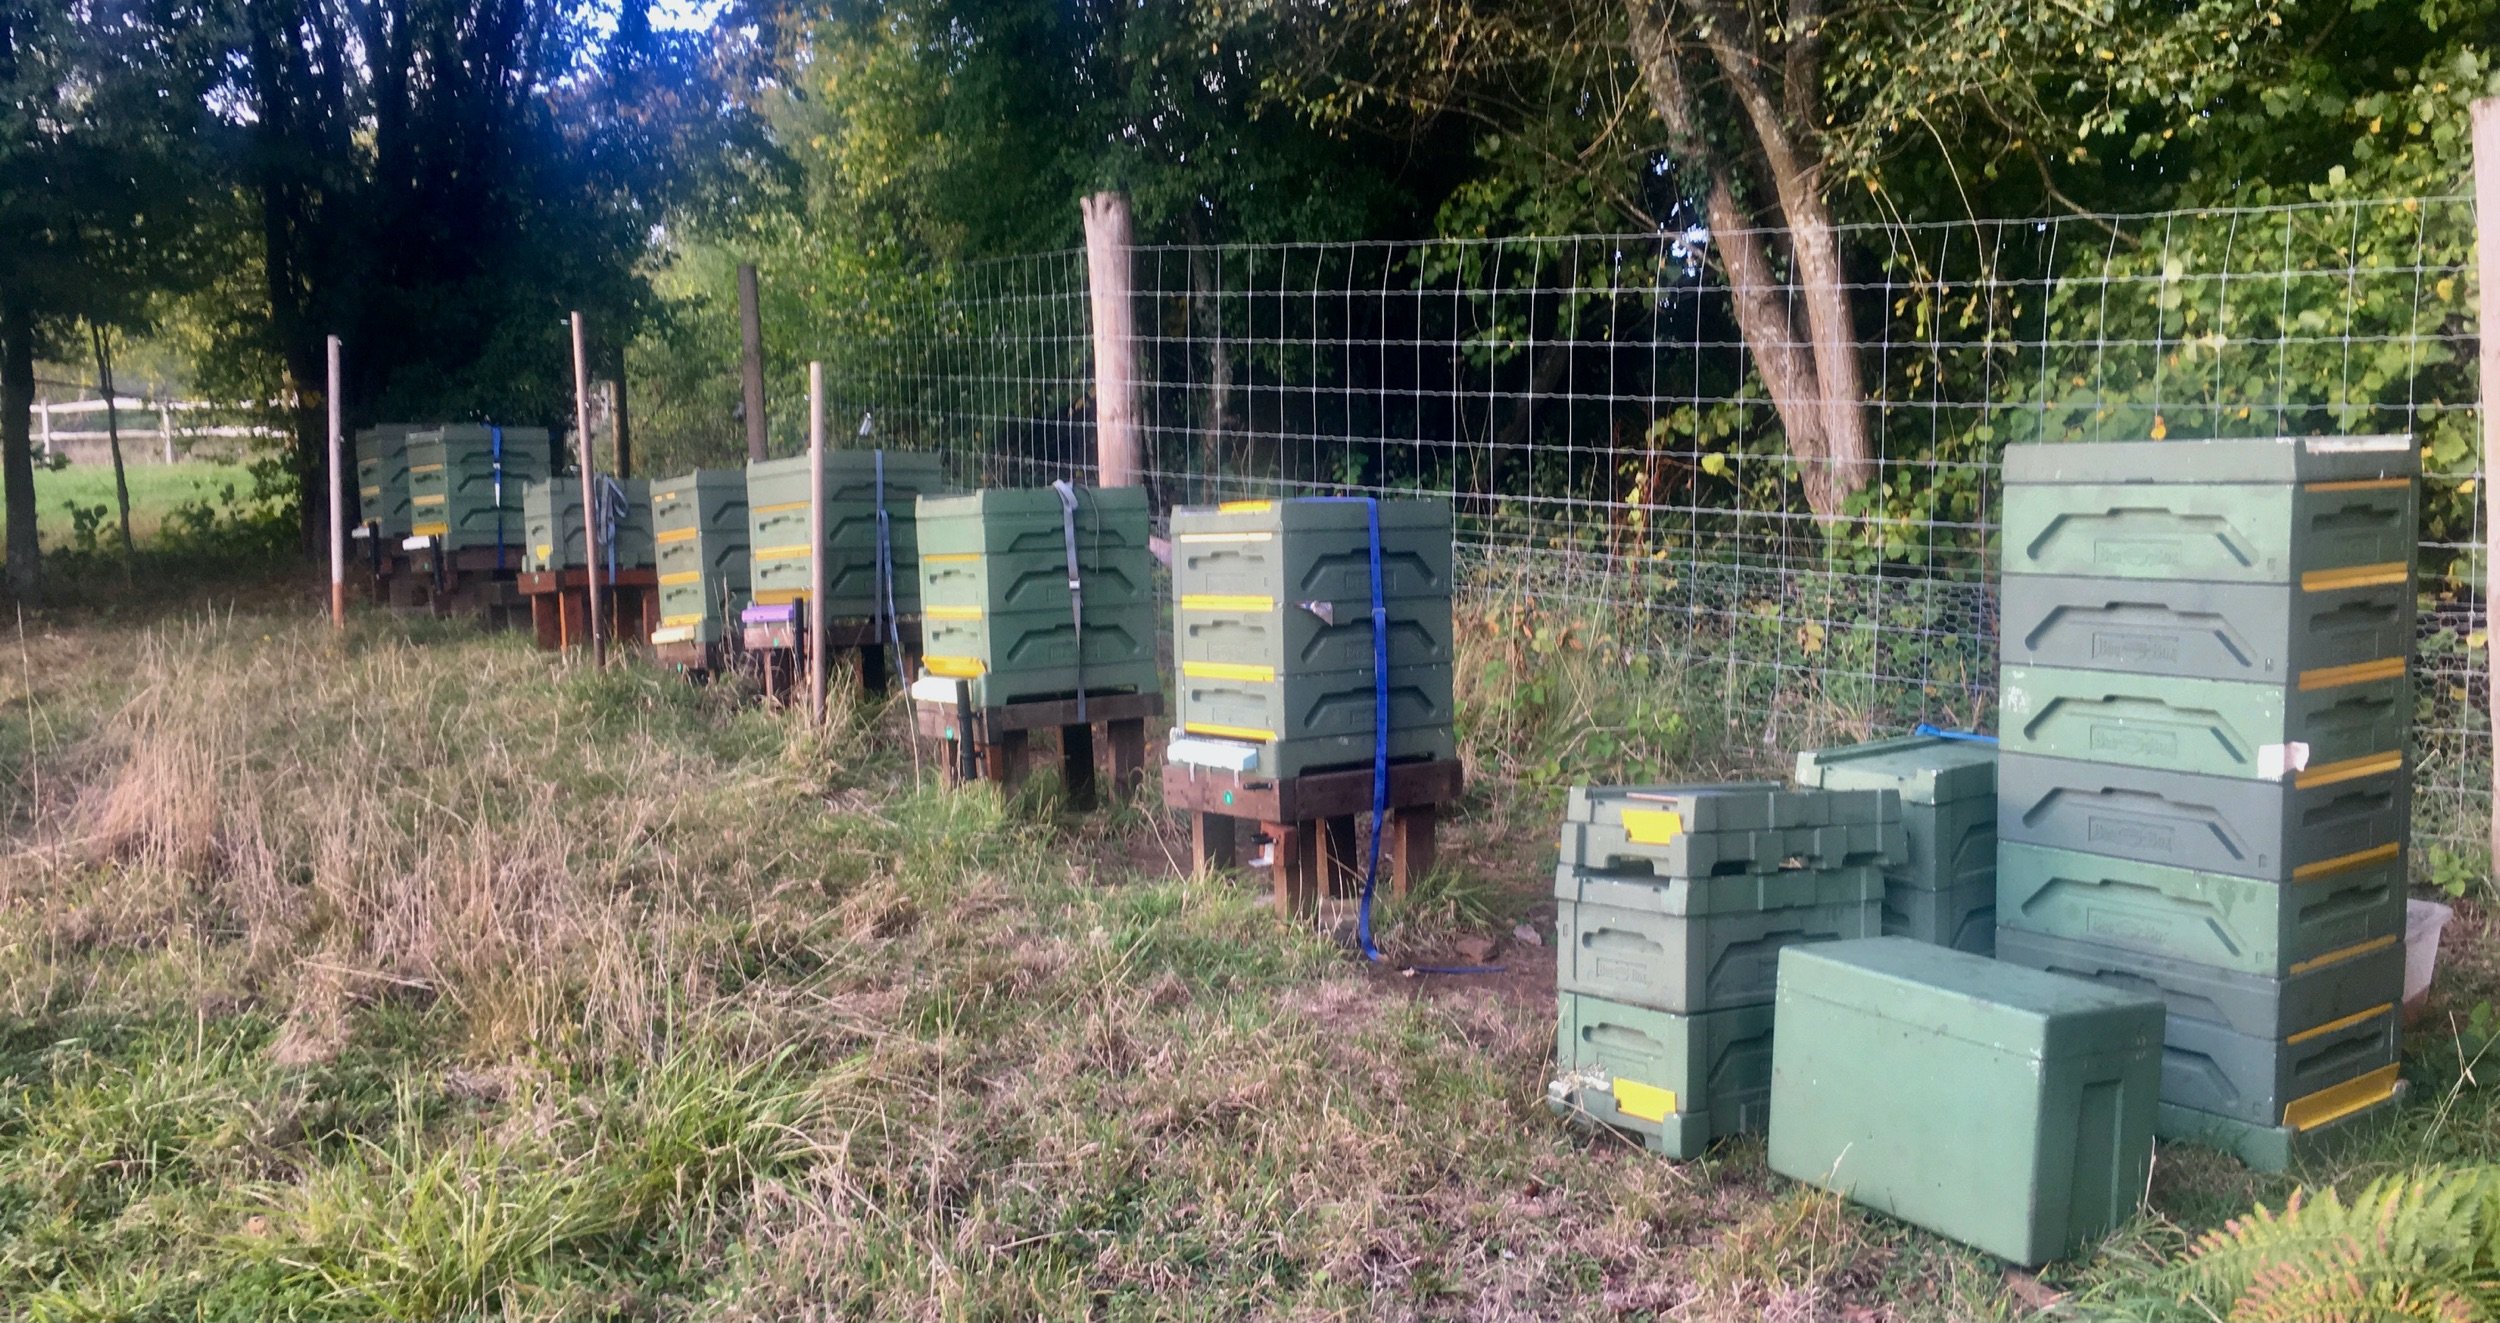
You need space around the hive since it involves making a new brood box, a box for the queen. You’ll need piles of fresh drawn and undrawn comb, stores, box for old comb, brood frames, a manipulation board, and possibly a new floor, and a clean queen excluder.
A step-by-step guide:
For prevention (reiteration — see above)
Start at least two weeks before your colonies are prone to swarm (do it in late March or early April in Surrey)
A young Q (in her first year) goes with drawn comb in the bottom box. Check that there are no QC on her frame. Shake her (and all the bees) in to the bottom box.
At least two boxes of supers containing comb or foundation go above. Put a QE above and below the supers.
Brood goes up top with plenty of pollen and stores.
Destroy QC in the top box
Cull the QC in the top box after 6–7 days.
Repeat the manipulation after 28 days or when there is sufficient brood. Some say doing it once is enough.
Make sure varroa is under control before the manipulation.
(M) Swarm/Queen Trap

The Q is trapped beneath the excluder, stopping her from swarming. As the virgin queens emerge, they fight until only one or the old queen survives.
Leave the colony alone for 28 days. After this, reverse the entrances so that the Q can go out to mate.
If there is too much brood to fit in one box, put surplus frames above the Swarm Trap. Kill all the QC on these frames, and repeat after six days.
Paradise Honey extols this device as a revolutionary innovation. It isn’t. A Bailey board is much the same, but the Swarm Trap has an entrance reducer, not just an entrance.
With the previous Paradise trap design, the concept was that if the brood was in one box, the trap was left in the hive as a regular QE. But the device kept falling apart. The new design could be used in the same way, but it engenders gazillions of propolis on its undersurface.
To control swarming, when any QC arises no thought is required, shut the hive entrance and open the upper entrance. Job done. It works well and can be used as your sole method of swarm control. It’s quick and no fuss.

Page 7